home
1 (877) 686-6505
info@kleenzone.ca
April 15, 2020

Cleaning and disinfecting public areas (COVID-19)

What you should know
  • Surfaces frequently touched with hands are most likely to be contaminated. These include doorknobs, handrails, elevator buttons, light switches, cabinet handles, faucet handles, tables, countertops and electronics.
  • It is not yet known how long the virus causing COVID-19 lives on surfaces, however, early evidence suggests it can live on objects and surfaces from a few hours to days.

  • Choose a product that cleans and disinfects
  • When cleaning public spaces, choose products that clean and disinfect all at once (e.g. premixed store-bought disinfectant cleaning solutions and/or wipes when available).
  • Cleaning products remove germs, dirt, and impurities from surfaces by using soap (or detergent) and water. Cleaning does not necessarily kill germs, but by removing them, it lowers their numbers and the risk of spreading infection.
    Disinfecting products kill germs on surfaces using chemicals.
  • Use only approved hard-surface disinfectants that have a Drug Identification Number (DIN). A DIN is an 8-digit number given by Health Canada that confirms the disinfectant product is approved and safe for use in Canada.

  • Create a cleaning procedure
  • Operators of community settings should develop or review protocols and procedures for cleaning public spaces. This will help determine where improvements or additional cleaning may be needed.
  • Read and follow manufacturer's instructions for safe use of cleaning and disinfection products (e.g. wear gloves, use in well-ventilated area, allow enough contact time for disinfectant to kill germs based on the product being used)
  • .
  • Wash hands with soap and water or use alcohol-based hand sanitizer after removing gloves.
  • Use damp cleaning methods such as damp clean cloths, and/or a wet mop. Do not dust or sweep which can distribute virus droplets into the air.
  • Contaminated disposable cleaning items (e.g. mop heads, cloths) should be placed in a lined garbage bin before disposing of them with regular waste. Reusable cleaning items can be washed using regular laundry soap and hot water (60-90°C). Clean and disinfect surfaces that people touch often.
  • In addition to routine cleaning, surfaces that are frequently touched with hands should be cleaned and disinfected more often, as well as when visibly dirty.
  • Shared spaces such as kitchens and bathrooms should also be cleaned more often.

  • For more information: Canada.ca/coronavirus 1-833-784-4397
    January 15, 2020

    Flu season cleaning

    The flu season can be brutal. But you're not powerless when it comes to keeping the illness at bay. Just follow some basic cleaning rules to minimize the impact of the flu virus.

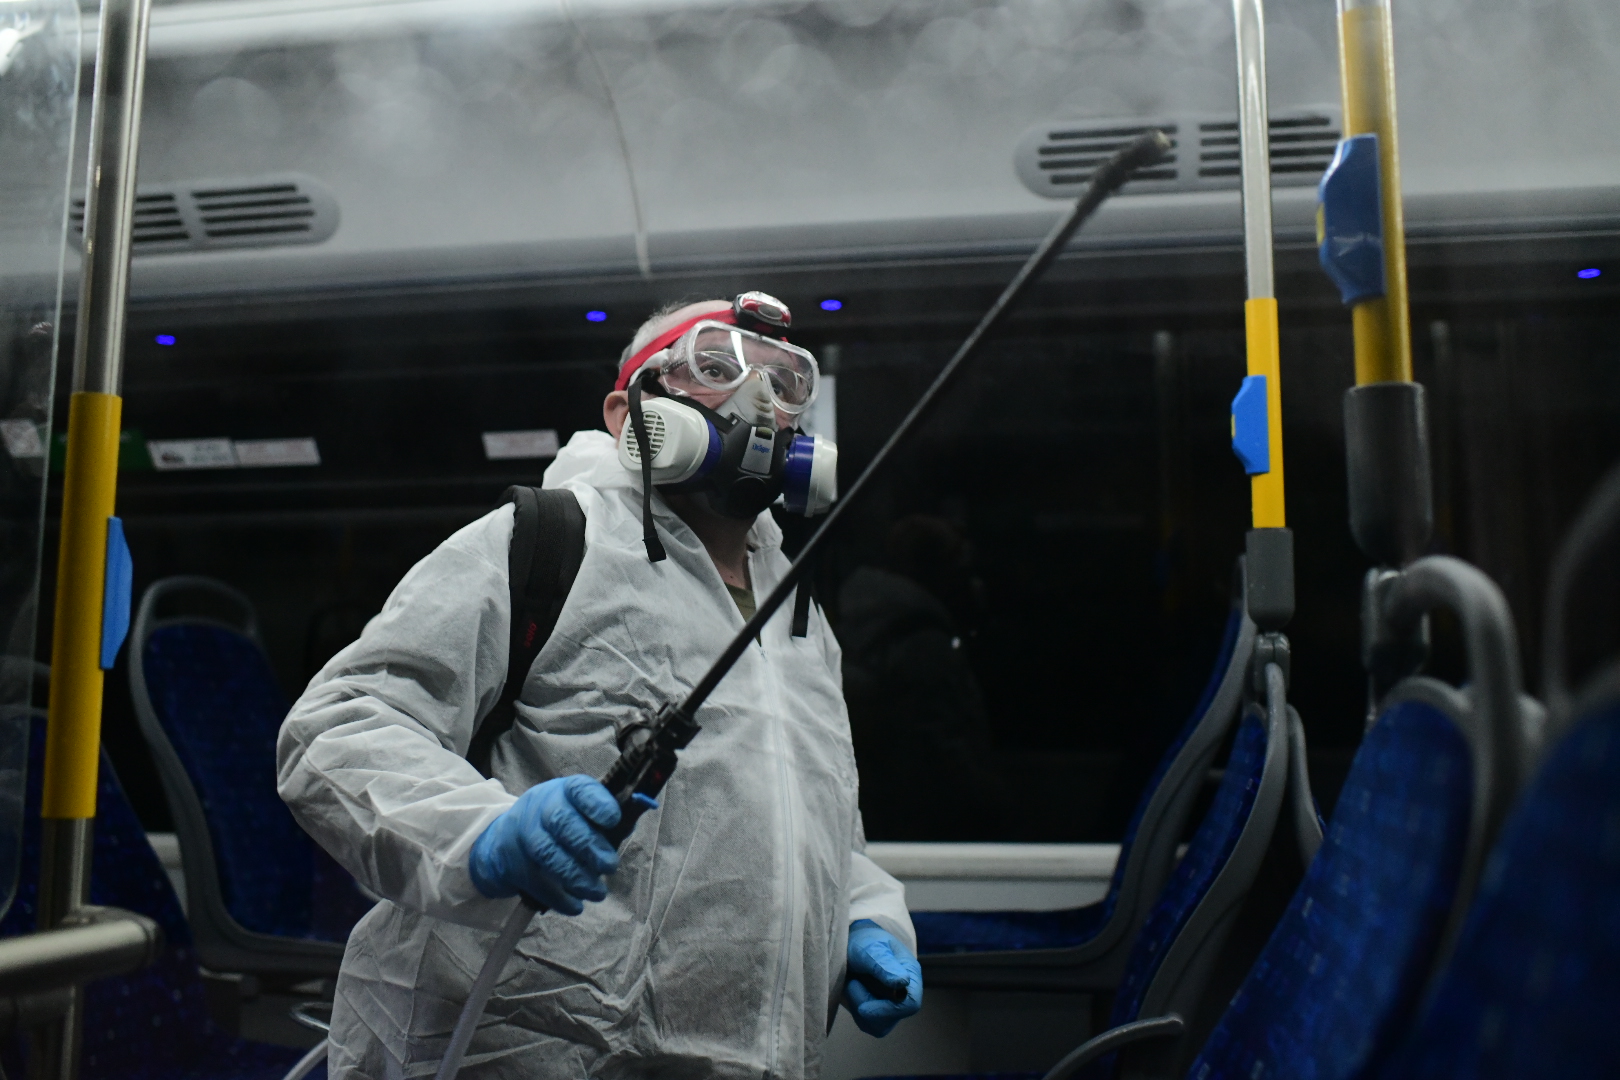
    1. Disinfect surfaces.
  • The flu virus can live on hard surfaces for 24 hours, disinfect surfaces that a sick person may have touched, paying special attention to the sick person's bedroom and bathroom.
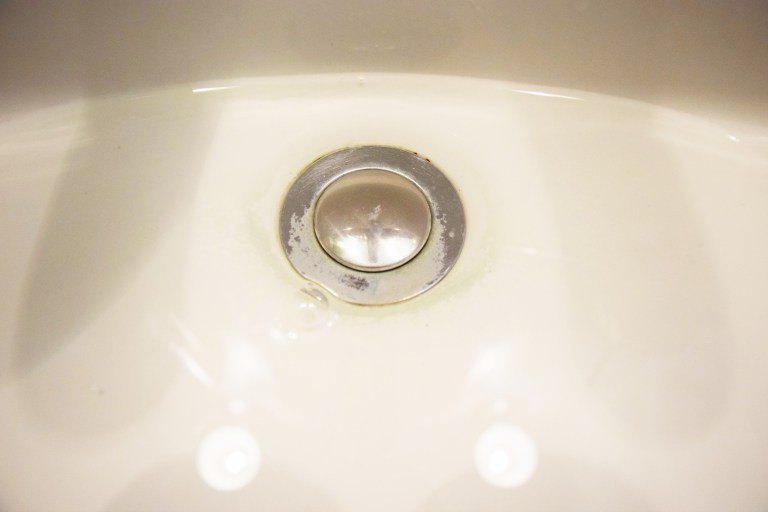
  • Use an antibacterial cleaner on key spots such as: tabletops, countertops, remote controls, computer keyboards, doorknobs, sinks, light switches, faucet handles, sinks, tub and toilet (including the entire seat and the toilet handle).
  • Contact time of the disinfectant with the surface is important, wipe with the disinfectant so that the surface remains visibly wet for four minutes and then let it dry.
    A good option for disinfectant is a solution of 1/2 cup of bleach per 3/4 gallon of water.

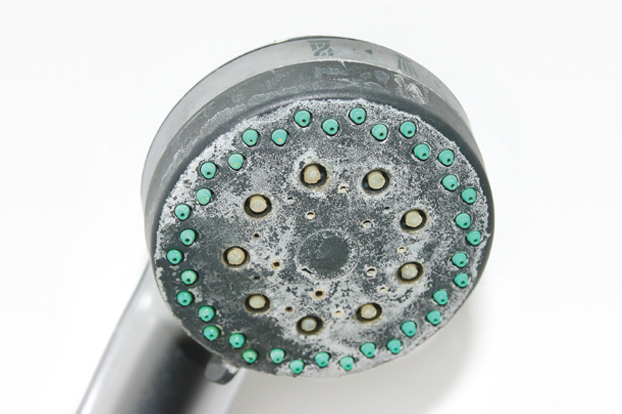
  • 2. Tips for the bathroom.
  • Use disposable cups.
  • Never share hand towels or bath towels with a sick person. Use paper towels instead of cloth hand towels to help prevent the spread of germs.
  • Keep toothbrushes uncovered and isolate the toothbrush of the sick person from those of other family members.

  • 3. Cleaning for the bedroom
  • Use a wastebasket just for the sick in the room to catch all those used tissues — and make sure to line the basket with a plastic grocery bag to minimize contact with germs. Empty at least once a day, replacing bags each time.
  • To disinfect wastebaskets, rinse them well then wipe the inside and outside with a solution of 1/2 cup bleach and 3/4 gallon of water. Allow four minutes for disinfecting then rinse with warm water and air dry.
  • Dust can be irritating when someone's sick, dust furniture, headboards and nightstand, also vacuum the floor, include corners and under the bed.
  • get fresh air into the rooms by opening the windows every day in the morning, long enough to freshen the rooms.

  • 4. Take care of laundry
  • Don't “hug” dirty clothes as you take them to the washer. This could spread the germs onto you, instead, transport dirty clothes in a laundry basket and wash your hands after loading the washer.
  • Sanitize your laundry with bleach — regular bleach for whites and color-safe bleach for colors. (Be sure to follow fabric care instructions on label.) Use 2/3 cup of bleach (1/3 cup for HE machines), making sure the laundry is in contact with the bleach solution for ten minutes.
  • After you finish washing the bed sheets, clothes and towels, take time to wash your washing machine. The moist environment in the washer is a breeding ground for germs. Run an empty cycle of hot water and add bleach to the dispenser, then run an additional cycle to ensure the bleach is gone.

  • 5. Don't use sponges for cleaning
  • While in flu season, use disposable paper towels or germ-grabbing microfiber cloths for cleaning. Just remember to wash microfiber cloths daily with a bleach solution.

  • 6. Wash hands carefully
  • Clean hands are just as important as a clean house, especially during flu season. To kill germs, wash hands well with warm water and lots of soap for at least 20 seconds.
    Everyone should wash hands after using the bathroom, when we come to contact with others, before eating, and before touching the eyes, nose or mouth.

  • January 08, 2020

    Holidays are Over, Time to Clean Up!

    The holidays are a joyous time for all, but that seasonal joy can fade quickly when you're faced with the clean up after the festivities are over. Getting your place back into shape can be an exhausting task, but fear not, here are a few tips that will make your life much easier cleaning up.

    1. Dismantle the Christmas tree carefully.
  • Use as much care taking your tree down as you did putting it up to save you some headaches next year.
  • Keep Christmas lights from tangling by wrapping them around an empty tube from your wrapping paper or kitchen paper towels. Starting with the side opposite the plug, and when done wrapping insert the plug into the tube's opening, secure the cable with a rubber band.
  • Take down the ornaments and instead of tossing them back into a box, wrap them safely and place them neatly in a box. For extra cushioning, place the tree skirt at the bottom of the storage box and layer the wrapped ornaments on top.

  • 2. Check carpets and furniture for stains.
  • The longer stains set, the more difficult they will be to remove. If you spot any, use a spray bottle to lightly apply a mixture of warm water and mild dishwashing liquid. Soak up with a paper towel and continue spraying and soaking until the stain is removed. Rinse with clear water and soak again. Fluff the cleaned area and allow it to dry.
    Note: Try the dishwasher liquid in an inconspicuous spot of your carpet before applying it for cleaning, check for discoloration of your carpet material.

  • 3. Sort out your decorations and/or gifts and discard or donate what you don't need or not going to use.
  • Did you deside to change your decoration theme next year ? or did you get great new gifts but you know you won't be using ?
    Discard old and worn down decorations, and donate the rest. As for gifts that can't be exchanged for something useful, give them a new home donate them.

  • April 29, 2019

    Descale your shower correctly to keep it gleaming!

    If you descale your shower correctly, you can continue to enjoy your showers for a long time to come. But what does “correctly” mean? Find out how to remove limescale from your showers quickly, gently and easily – so that it always looks as shiny as the day you installed it.

    1. Equip yourself with the right tools.
  • Use soft clean cloths. Never use abrasive agents such as sponges, scourers or microfibre cloths as they will dull and scratch the finish of the shower.
  • Do not use steam cleaners, since high temperatures can damage the shower.

  • 2. Cleaning agents.
  • Use only mild detergents, citric acid-based detergents will work well.
  • Do not use any cleaning agents containing hydrochloric acid, formic acid, chlorine bleach or acetic acid, as these can lead to damage.
  • Cleaners containing phosphoric acid can only be used to a limited extent.
  • Never mix cleaning agents!
  • Do not spray cleaning agents directly onto the shower, spray mist can sip into the fixtures and damage the water seals, spreay on a washing cloth instead and wipe.
  • Thoroughly rinse your shower with clean water after cleaning.


  • September 5, 2018

    Remove Hard water spots

    Hard water deposits are alkaline, an acid-based cleaner is the best way to clean them.
    Phosphoric acid works well and is safe for most surfaces. Grocery store cleansers with phosphoric acid contain 4 percent to 6 percent acid.

    You can purchase lime scale removers at janitorial supply stores that contain 8 percent to 12 percent acid to get the job done faster. A higher concentration of acid is safe on most household surfaces as long as you rinse the surface to remove all traces of the acid after the cleaning is complete.

    Let the acid sit for a few minutes after you apply it to let it work. Tough hard water deposits may take more than one application. Scrub the applied areas with a white, nylon-backed scrub sponge. Make sure you read any manufacturer's warnings before applying phosphoric acid solutions to surfaces in your home.

    Alternatively, you can use a vinegar-based solution for a natural approach to the cleaning. Use an equal parts vinegar and water, and clean normally as you would while using a store-bought cleaner.

    August 1, 2018

    How to Clean Your Coffee Maker

    Coffee makers can be dirtier than you think. When just washing the carafe doesn't cut it.

      1. Wash removable parts after every use.
      This is important because it helps remove coffee, grinds and oil that are left behind. You can hand wash at the sink with warm and soapy water, but usually the pieces are dishwasher-safe. Don't forget to wipe down the outside and the warming plate where spills can burn on. It is recommend to leaving the reservoir's lid open after use so it can dry out completely.
      2. Decalcify your coffee maker every month.
      Over time, hard water minerals can build up in your coffee maker's inner parts, and you may notice that your coffee takes longer to drip or tastes funny. To get things back in tip-top shape, you need to cleanse and decalcify the coffee maker.
      A easy remedy is white vinegar.
      Fill the reservoir with equal parts vinegar and water, and place a paper filter into the coffee maker's empty basket. Position the pot in place, and "brew" the solution halfway. Turn off the coffee maker, and let it sit for 30 minutes. Then, turn the coffee maker back on, finish the brewing and dump the full pot of vinegar and water. Rinse everything out by putting in a new paper filter and brewing a full pot of clean water. Repeat once.
      3. Make your carafe sparkle again.
      You should always wash your carafe after each use, but if it's looking dull over time, fill it with warm, sudsy water and a little rice. Swirl the mixture to loosen any gunk. Use a scrub sponge to remove debris and rinse well.

    March 31, 2018

    How to remove coffee stains

    Every coffee drinker will eventually spill a cup on their clothes. If you have coffee often enough, in enough settings, you'll eventually spill a drop or two - or an entire mug. When you do, Here is how to get coffee of synthetics and cottons.

      Synthetic fabrics:
    1. Blot up excess coffee with a clean, dry cloth
    2. Presoak the stain in a solution of 1 quart warm water, ½ teaspoon dishwashing detergent (not laundry detergent) and 1 tablespoon of white vinegar for 15 minutes
    3. Rinse the stained area with warm water
    4. Use a sponge and rubbing alcohol to blot up any remaining stain
    5. Wash as normal

    If the coffee stain doesn't come out the first time, repeat these steps until it does. Most stains, unless they're old, will come out after one or two times through these steps.
    If you typically put your synthetic fabrics in the dryer, don't dry them until the stain is completely removed.
      Cotton/Linen:
    1. Blot up excess coffee with a clean, dry cloth
    2. Presoak the stain in a solution of 1 quart warm water, ½ teaspoon dishwashing detergent (not laundry detergent) and 1 tablespoon of white vinegar for 15 minutes
    3. Rinse the stained area with warm water
    4. Use a sponge and rubbing alcohol to blot up any remaining stain
    5. Rinse the fabric again with warm water
    6. Let the fabric dry
    7. Wash as normal
    March 20, 2018

    How to Remove Salt Stains from Shoes

    Winter brings slushy snow and salt stains from salted sidewalks. We're all happy to see icy sidewalks and streets salted down to make walking and driving safer. But that same sodium chloride (rock salt) and calcium carbonate and magnesium carbonate used to melt ice and snow can leave our clothes, shoes and carpets looking pretty bad.
    While it's fairly easy to remove these salts when they're fresh, they may damage shoes and weaken or disintegrate fabrics, especially silk and wool, when left in garments for a period of time.

    1. Begin by mixing one cup of cool water and one tablespoon of distilled white vinegar
    2. Soak a cotton ball with the mixture and wipe it over the stains. The acetic acid in the vinegar will dissolve the salt deposits without damaging the shoe
    3. Finish by buffing the area with a clean white cloth
    4. Allow the shoes to air dry away from direct heat and repeat if necessary
    March 10, 2018

    How to remove grass stains

    Light-colored clothing often means grass stains, this is a quick approach to get the green out.
    While its fairly easy to remove these salts when they're fresh, they may damage shoes and weaken or disintegrate fabrics, especially silk and wool, when left in garments for a period of time.

    1. Apply a pre-wash stain removal treatment (one part white vinegar to two parts water) to the stain and let sit for about 15 minutes
    2. Use a toothbrush (or a rag or nailbrush) to lightly scrub the stain and work the pre-wash liquid into the area
    3. Finish with a wash using an enzyme detergent (most standard laundry soaps are enzyme-based), which will break down proteins and lift the stain from your garment